
Next.js 개발을 위해 프로젝트를 생성했다.
참고로 노드 18.17 버전 이상이 설치되어 있어야 한다.
(설치 방법: 2023.12.14 - [웹 개발] - 노드, NPM 최신버전 업데이트)
프로젝트 생성
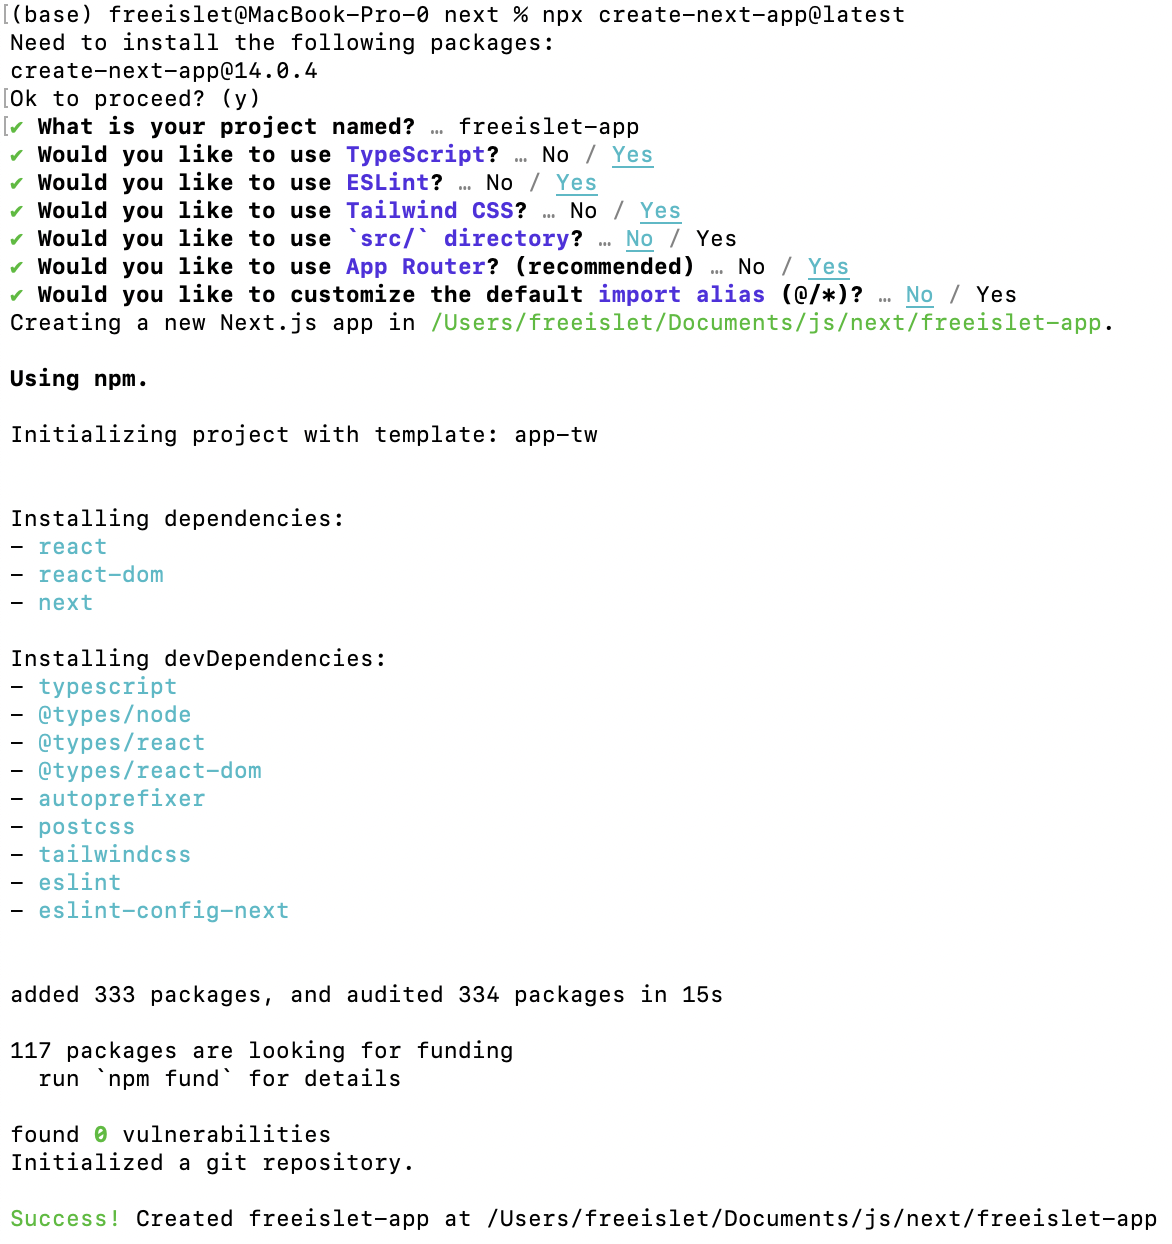
적절한 폴더에서 터미널을 열어 다음 명령으로 간단하게 프로젝트를 생성한다. Next.js 프레임워크도 물론 포함된다.
npx create-next-app@latest
원하는 프로젝트 이름을 입력하고 나머지는 엔터키로 넘어가면, 다음과 같이 프로젝트 생성 완료 메시지가 뜬다.
샘플 코드
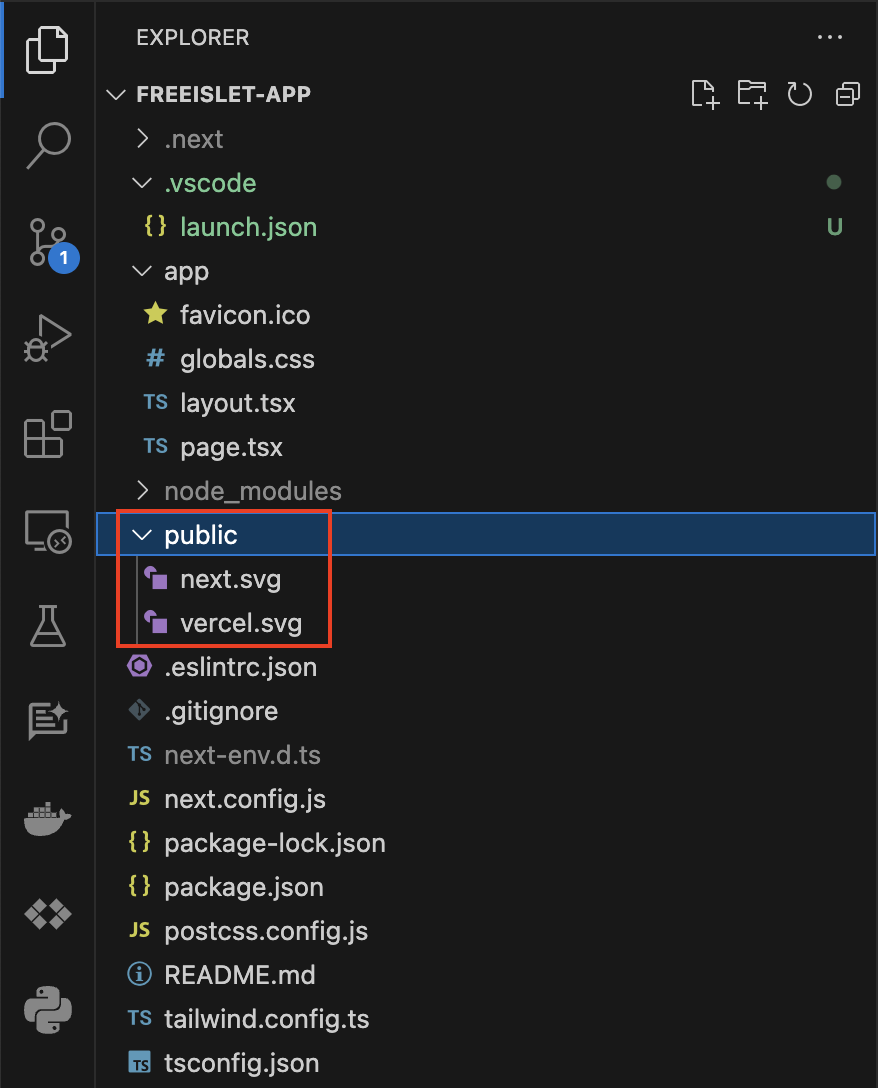
생성된 프로젝트 폴더를 살펴 보면, app 폴더 안에 layout.tsx와 page.tsx가 만들어진 것을 볼 수 있다. (App Router 기준)
layout.tsx
import type { Metadata } from 'next'
import { Inter } from 'next/font/google'
import './globals.css'

const inter = Inter({ subsets: ['latin'] })

export const metadata: Metadata = {
  title: 'Create Next App',
  description: 'Generated by create next app',
}

export default function RootLayout({
  children,
}: {
  children: React.ReactNode
}) {
  return (
    <html lang="en">
      <body className={inter.className}>{children}</body>
    </html>
  )
}
page.tsx
import Image from 'next/image'
export default function Home() {
return (
<main className="flex min-h-screen flex-col items-center justify-between p-24">
<div className="z-10 max-w-5xl w-full items-center justify-between font-mono text-sm lg:flex">
<p className="fixed left-0 top-0 flex w-full justify-center border-b border-gray-300 bg-gradient-to-b from-zinc-200 pb-6 pt-8 backdrop-blur-2xl dark:border-neutral-800 dark:bg-zinc-800/30 dark:from-inherit lg:static lg:w-auto lg:rounded-xl lg:border lg:bg-gray-200 lg:p-4 lg:dark:bg-zinc-800/30">
Get started by editing
<code className="font-mono font-bold">app/page.tsx</code>
</p>
<div className="fixed bottom-0 left-0 flex h-48 w-full items-end justify-center bg-gradient-to-t from-white via-white dark:from-black dark:via-black lg:static lg:h-auto lg:w-auto lg:bg-none">
<a
className="pointer-events-none flex place-items-center gap-2 p-8 lg:pointer-events-auto lg:p-0"
href="https://vercel.com?utm_source=create-next-app&utm_medium=appdir-template&utm_campaign=create-next-app"
target="_blank"
rel="noopener noreferrer"
>
By{' '}
<Image
src="/vercel.svg"
alt="Vercel Logo"
className="dark:invert"
width={100}
height={24}
priority
/>
</a>
</div>
</div>
...(생략)...
</main>
)
}
정적 애셋 (static asset)
이미지, 폰트 등의 static asset은 public 폴더에 둔다. 이미 public 폴더에 로고 이미지가 추가되어 있다.
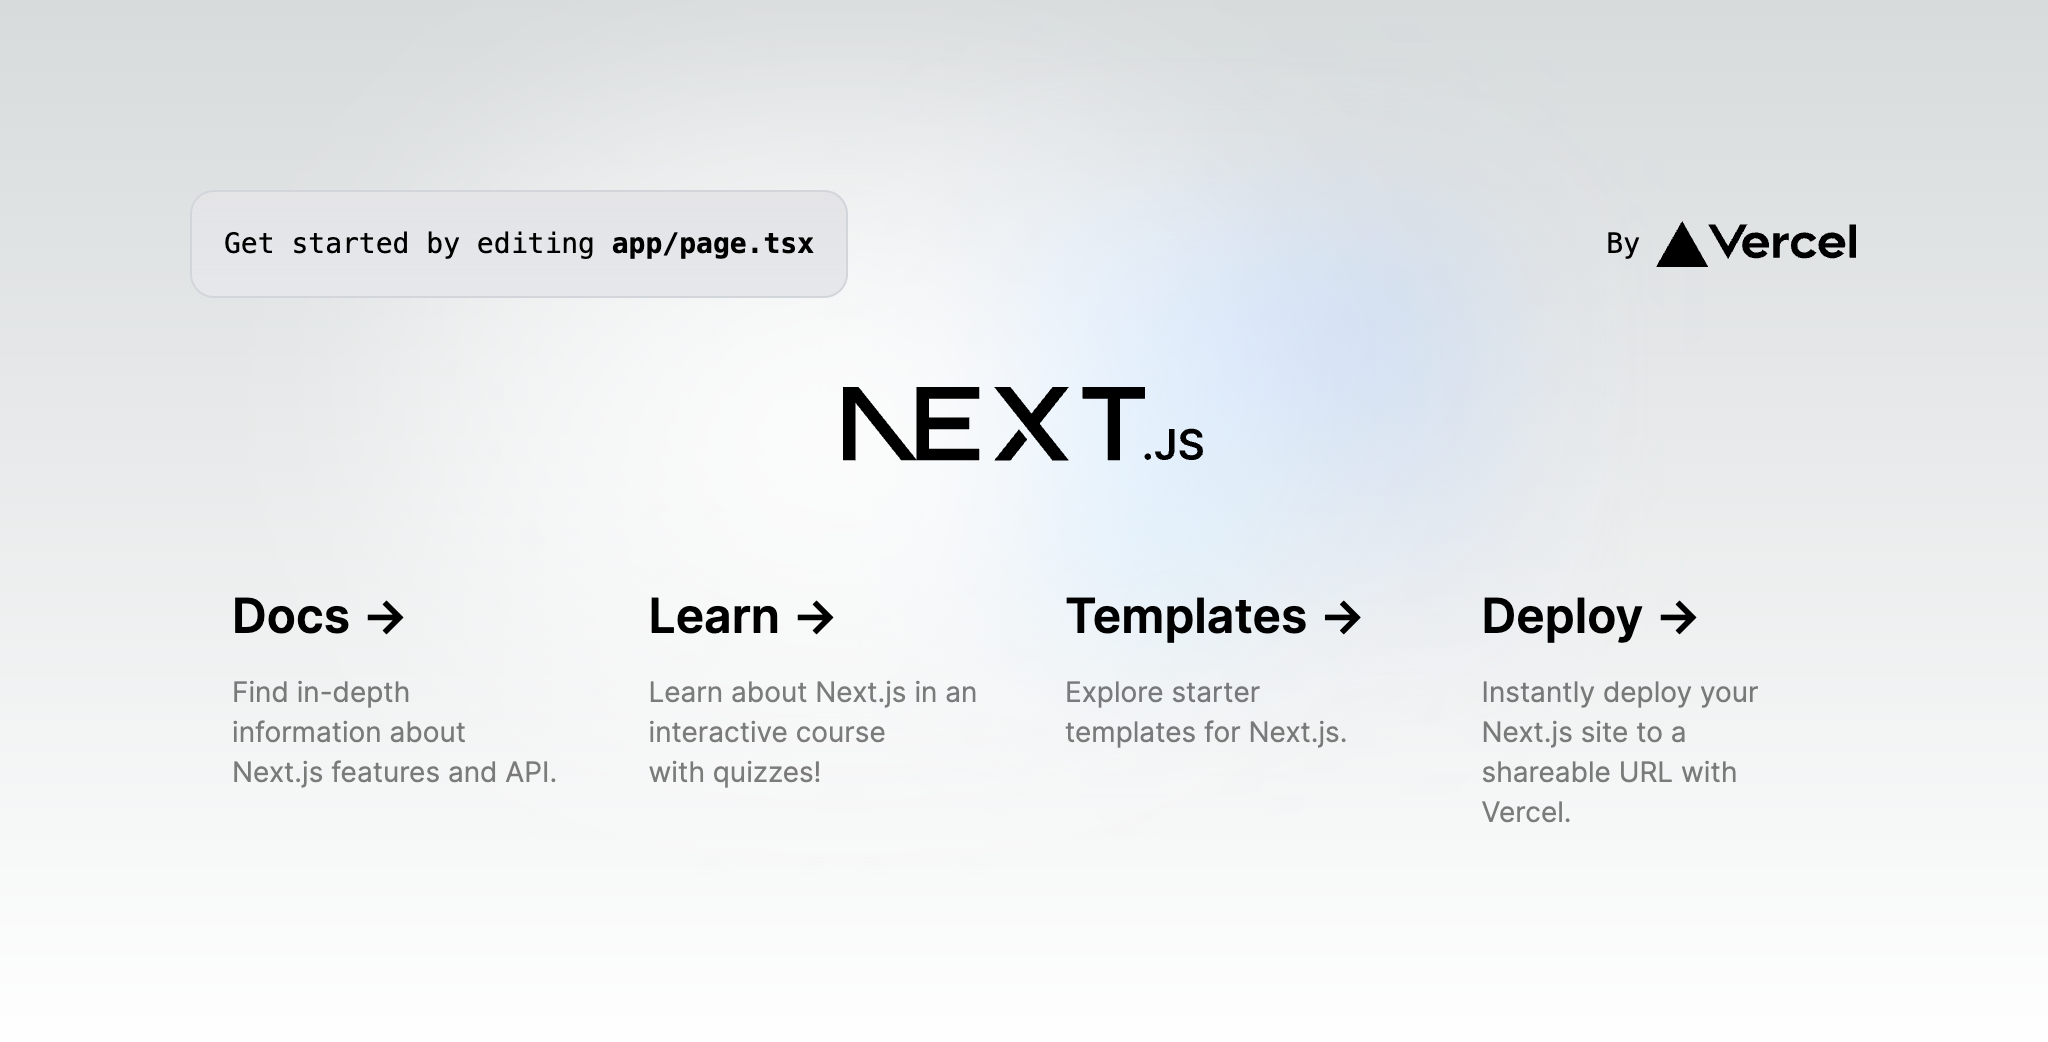
프로젝트 실행
터미널에서 다음 명령으로 서버를 실행한다.
npm run dev
http://localhost:3000 으로 접속하면, 아래와 같이 샘플 페이지를 볼 수 있다.
디버깅
vscode에서 디버깅을 위해 .vscode/launch.json 파일에 아래 내용을 저장한다.
{
  "version": "0.2.0",
  "configurations": [
    {
      "name": "Next.js: debug server-side",
      "type": "node-terminal",
      "request": "launch",
      "command": "npm run dev"
    },
    {
      "name": "Next.js: debug client-side",
      "type": "chrome",
      "request": "launch",
      "url": "http://localhost:3000"
    },
    {
      "name": "Next.js: debug full stack",
      "type": "node-terminal",
      "request": "launch",
      "command": "npm run dev",
      "serverReadyAction": {
        "pattern": "- Local:.+(https?://.+)",
        "uriFormat": "%s",
        "action": "debugWithChrome"
      }
    }
  ]
}
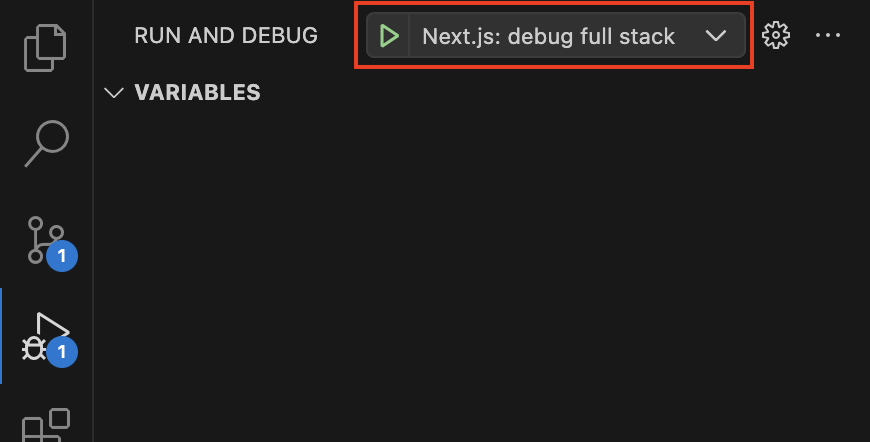
이제 디버그 패널에서 server-side, client-side, full stack 중 원하는 설정을 고른 후에 F5를 누르면, 디버그 세션이 열리면서 디버깅이 가능해진다.
참고: https://nextjs.org/docs/getting-started/installation
Getting Started: Installation | Next.js
Create a new Next.js application with `create-next-app`. Set up TypeScript, styles, and configure your `next.config.js` file.
nextjs.org
https://nextjs.org/docs/pages/building-your-application/configuring/debugging
Configuring: Debugging | Next.js
Learn how to debug your Next.js application with VS Code or Chrome DevTools.
nextjs.org
'웹 개발' 카테고리의 다른 글
| Next.js 홈페이지 만들기 - 다크 모드 (2/3) (0) | 2023.12.19 |
|---|---|
| Next.js 홈페이지 만들기 - 한글 폰트 (1/3) (0) | 2023.12.19 |
| Next.js 프로젝트를 GitHub pages에 배포하기 (0) | 2023.12.15 |
| 노드, NPM 최신버전 업데이트 (0) | 2023.12.14 |
| HTTP 캐쉬 직접 구현 (Angular) (0) | 2023.12.13 |